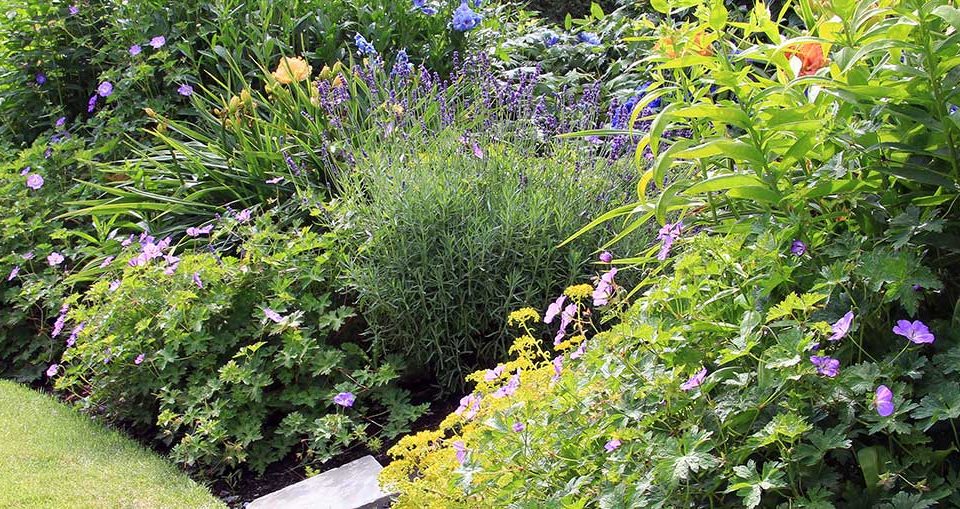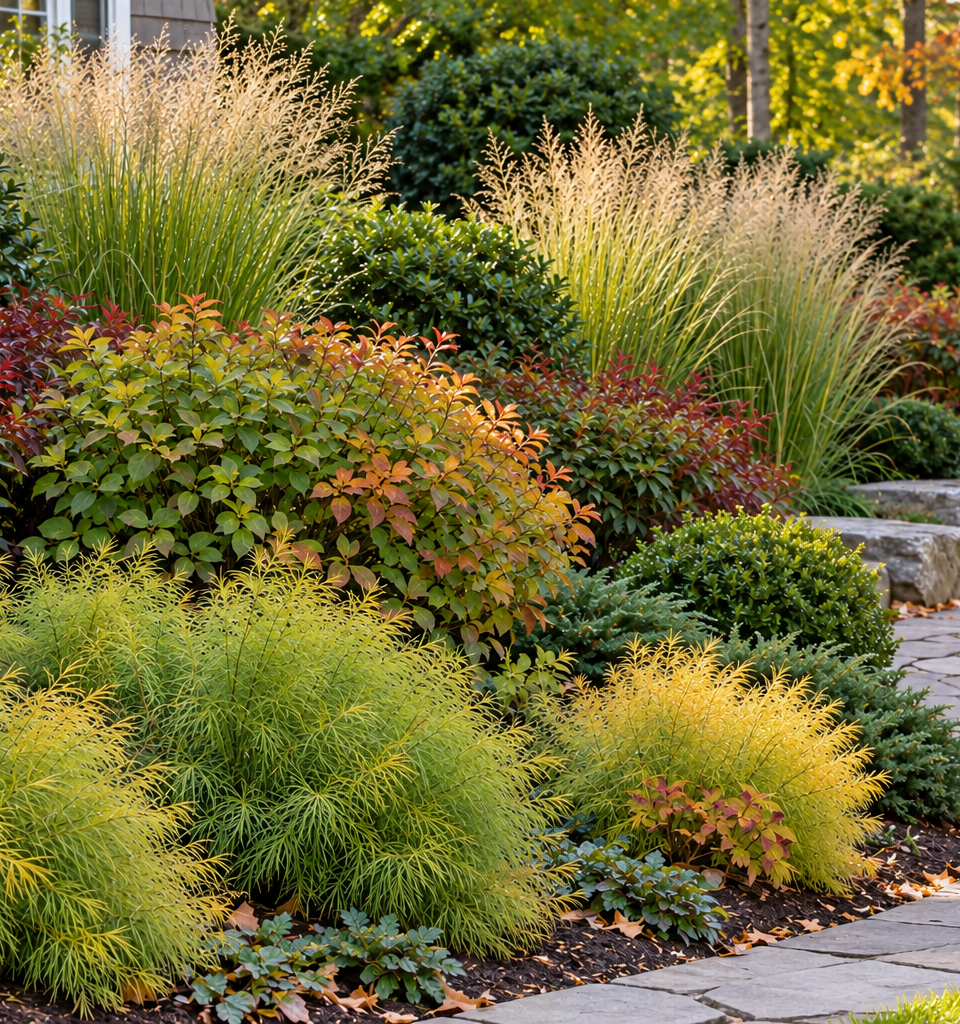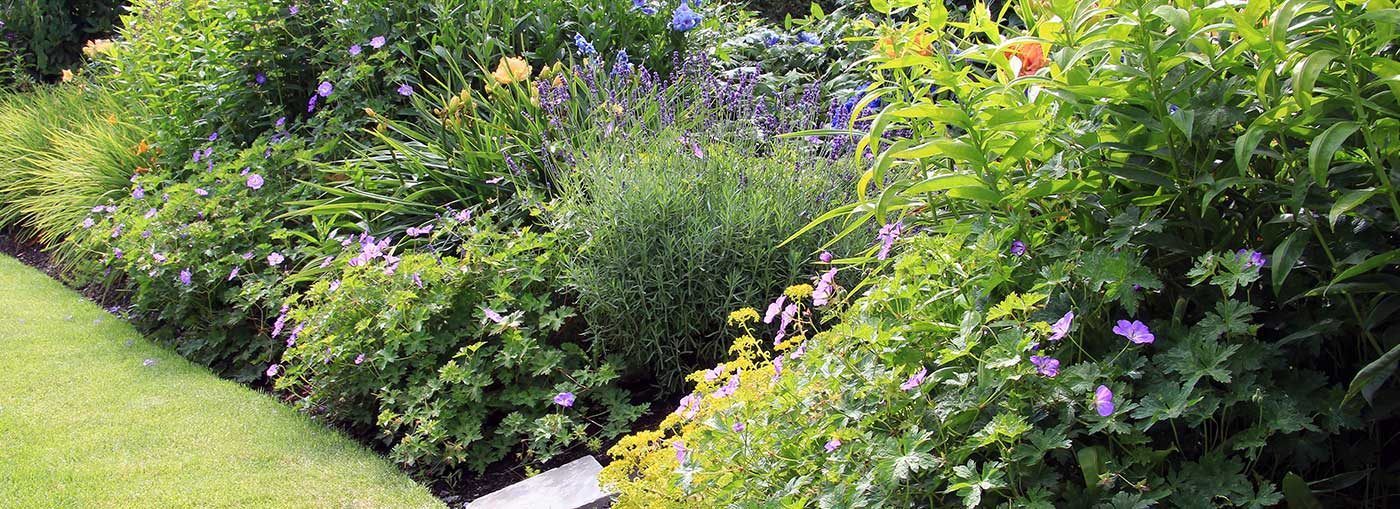
You do not need surveying equipment to begin planning a garden bed. A phone, a few rough measurements, and one clear photo are enough to explore a design direction or have a more productive conversation at a garden center. When plant quantities, edging, or materials depend on precision, verify those rough measurements with a tape measure or laser before you buy.
Take one useful overview photo
Stand far enough back to include the full bed and the features that affect the plan: the house, driveway, walkway, fence, mature trees, downspouts, and shrubs you intend to keep. Take the photo in daylight and avoid pointing directly into the sun. A clear full-bed photo is more helpful than several close-ups with no context.
Record the simplest dimensions first
For a rectangular bed, record the length and width. For a circular bed, record the diameter. A phone measuring app can give a useful estimate when you are away from a tape measure, but do not treat it as construction-grade accuracy.
For a curved or irregular bed, skip the pressure to calculate every angle. Note the longest length, the widest point, and any major changes in depth. A quick sketch in your phone notes can be more useful than a polished drawing built on guesses.
Capture the conditions that change plant choices
Add a short note about direct sun: full sun, morning sun, part shade, or deep shade. Also record whether the spot stays dry, holds water, catches wind, sits under tree roots, or needs to tolerate deer. These details often matter more than a small difference in bed size.
Mark what must stay
Circle or list existing plants, utilities, access points, and views you want to protect. If a shrub must stay, include its approximate width. If a path needs to remain clear, measure its usable width. A garden plan is much more accurate when it starts with the real constraints instead of an empty rectangle.
Know when rough is not enough
Use a tape measure, measuring wheel, or laser when you are calculating mulch, stone, edging, a large number of plants, or a budget that depends on square footage. Accurate measurements also matter if the bed has a tight fit around steps, doors, or utilities. A phone is a strong starting tool, not a replacement for verification when money and safety are involved.
Turn notes into a simple sketch
Draw the bed as a rough shape and add the longest length, widest point, sun direction, and anything that must stay. Mark where you stand when you look at the garden from indoors or from a path. This five-minute sketch makes it much easier to compare plant ideas and prevents a plan from losing the real-world constraints that matter most.
Keep all dimensions in the same unit and label estimates clearly. A note that says “about 12 feet” is more useful than a precise-looking number that came from an unreliable phone scan.
Once you have a photo, dimensions, and site notes, bring them into  Dirt AI to explore a planting direction. If the bed needs better soil first, start with this soil-health guide.
share this article